今天下午到公司被通知苏州一个节点的客户的裸金属无法开机,14:00上去到16:50终于给整好了,这里记录下笔记分享下
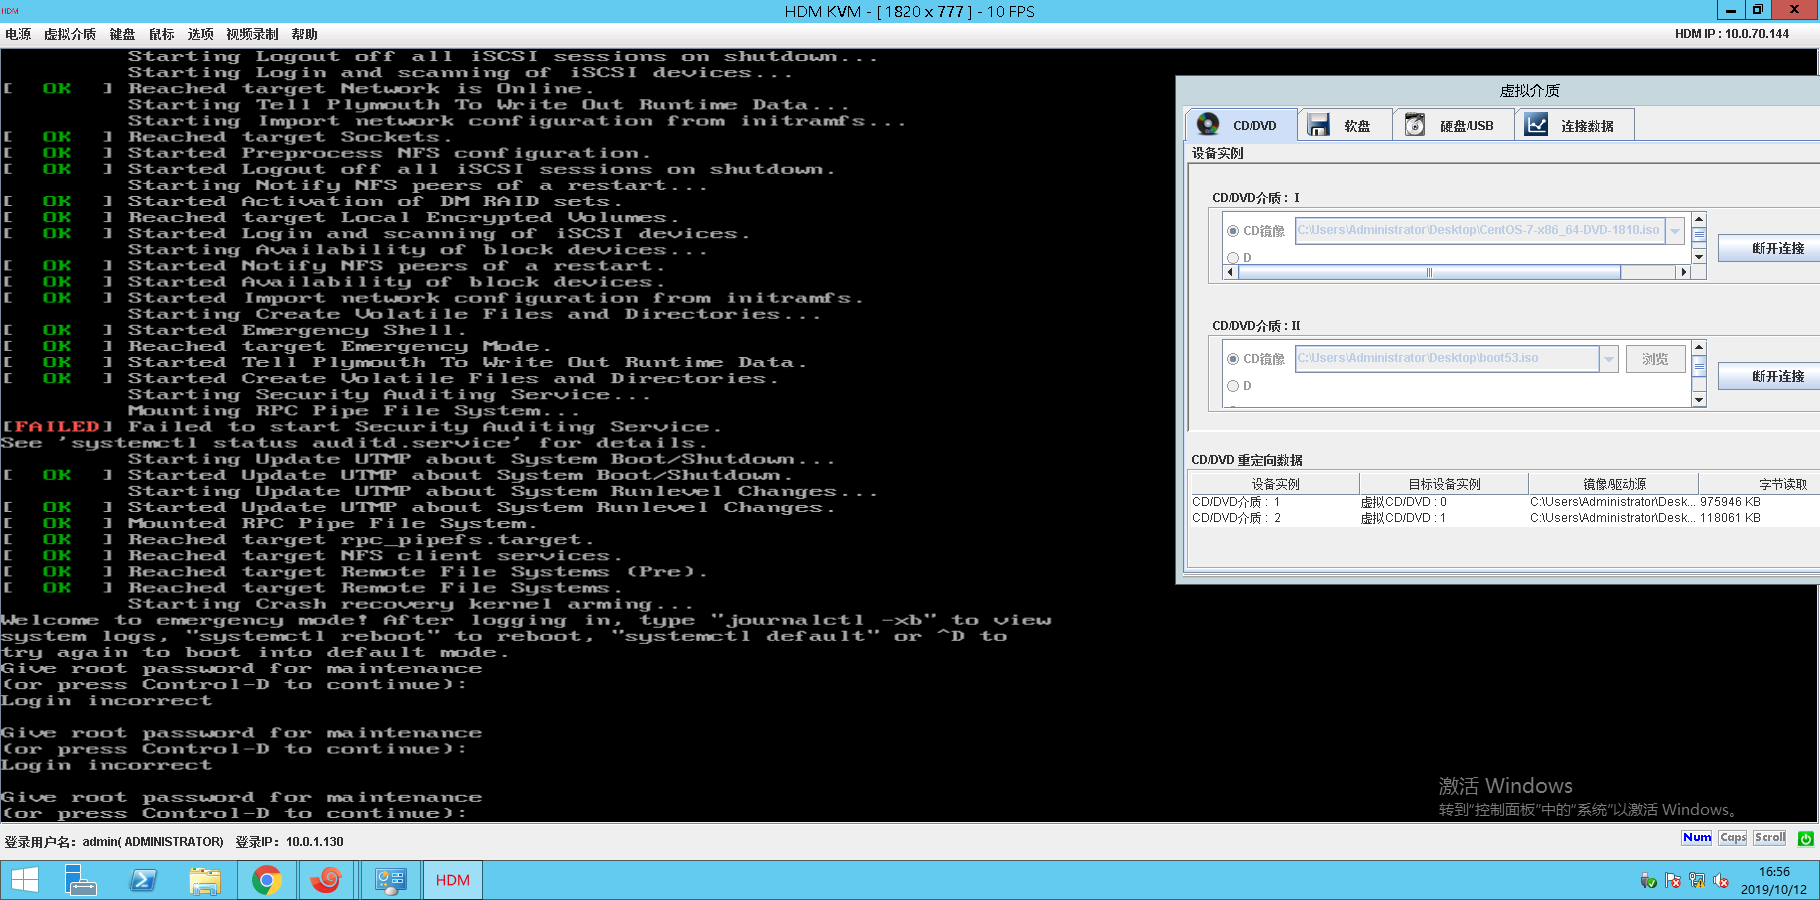
故障现象 物理机裸金属,连上跳板机通过带外连上去(等同于现场接了一个显示屏+键盘一样)错误为
1
2
3
4
. errorL file `/grub2/i386-pc/normal.mod' not found. Entering rescue mode... grub rescue>
这个物理机是grub2,这个错误和类似的/grub/i386-pc/normal.mod本质上都是文件丢失,但是也分情况,网上的一些恢复步骤都是在丢失部分文件的情况下恢复的
1
2
3
4
5
6
grub rescue>ls (hd0) (hd0,msdos2) (hd0,msdos1) grub rescue>ls (hd0,msdos1)/ ./ ../ grub rescue>ls (hd0,msdos2)/ error: unknown filesystem
这里是等同于你实际的分区,我们这基本是一个/boot和一个根,看到(hd0,msdos1)是/boot分区,文件是完全丢失的,(hd0,msdos2)/报错未知文件系统是因为这个是lvm,正常乐观下来讲只是丢失部分文件的话,可以参考下面步骤去恢复
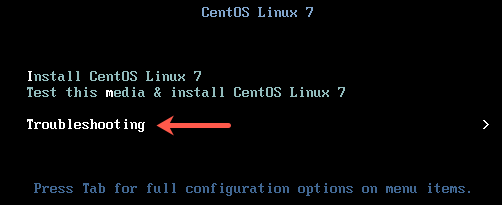
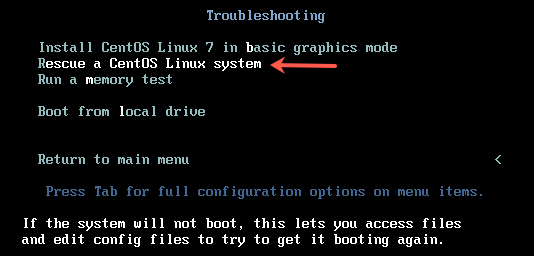
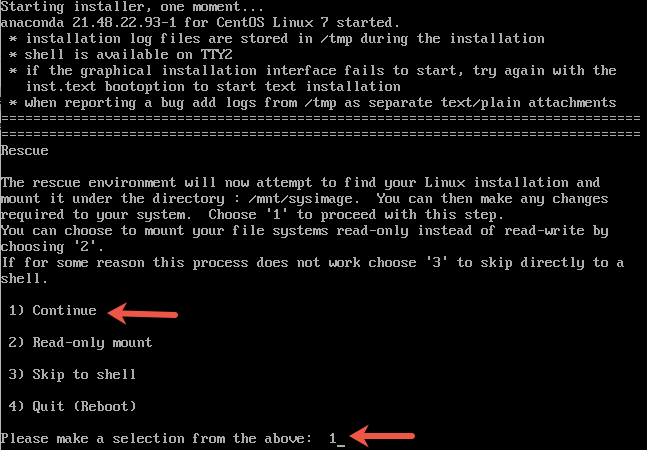
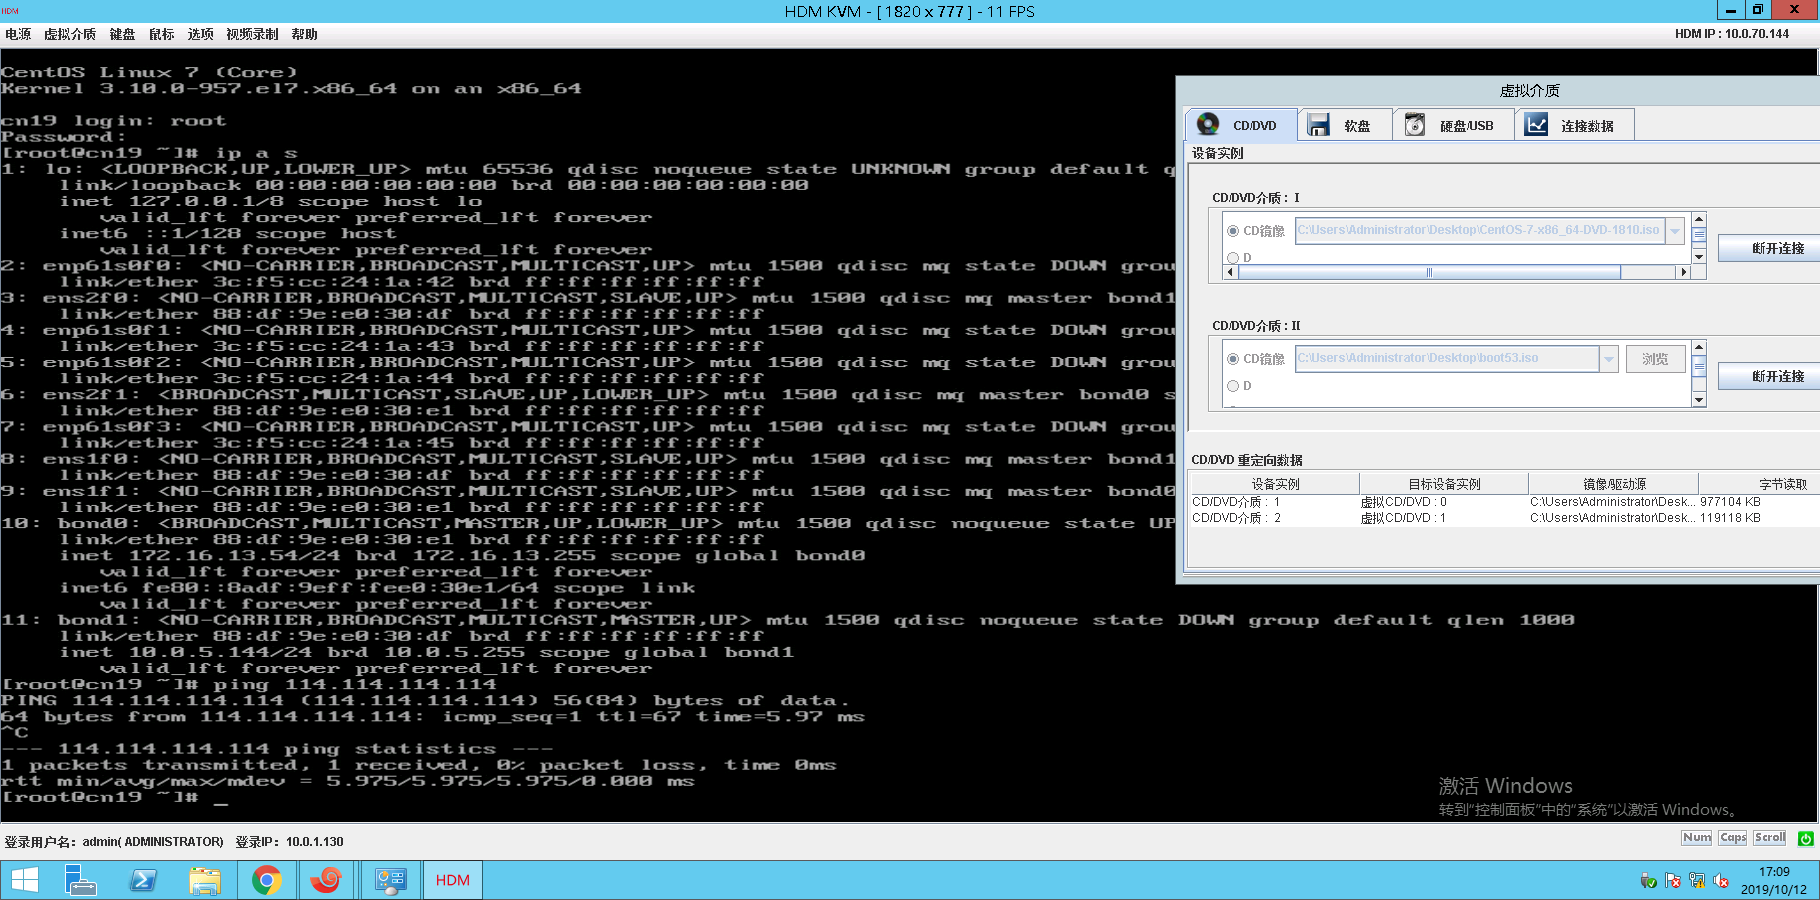
救援 livecd进入rescue救援 这里我是完全丢失,我利用带外远程挂载了一个centos7.6的iso(最好和目标系统版本一样),重启物理机进入cdrom,选择Troubleshooting –> Rescue a CentOS Linux system
下面我引用下别人的图,如果图被拦截了请看文字吧
1
2
3
4
5
6
7
8
9
10
11
12
13
14
15
sh-4.2# lsblk NAME MAJ:MIN RM SIZE RO TYPE MOUNTPOINT sda 8:0 1 558G 0 disk ├─sda1 8:1 1 1G 0 part /mnt/sysimage/boot └─sda2 8:2 1 557G 0 part ├─centos-root 253:0 0 550G 0 lvm /mnt/sysimage └─centos-swap 253:1 0 4G 0 lvm [SWAP] sr0 11:0 1 4.3G 0 rom /run/install/repo sr1 11:1 1 107.2M 0 rom loop0 7:1 0 432.4M 1 loop loop1 7:1 0 2G 1 loop ├─live-rw 253:0 0 2G 0 dm / └─live-base 253:1 0 2G 1 dm loop2 7:2 0 512M 1 loop └─live-rw 253:0 0 2G 0 dm /
根被挂载到/mnt/sysimage,boot被挂载到/mnt/sysimage/boot,iso被挂载到/run/install/repo
1
2
3
4
Minimal BASH_like line editing is supported. For the first word, ... .. grub>
出现这个一般是缺少grub.cfg,然后再进去光盘的rescue里去chroot进去grub2-mkconfig -o /boot/grub2/grub.cfg还是不行。因为实际上/boot都被清空了,grub2-install和mkconfig只是生成了/boot/grub2下面一些文件,因为开机需要的vmlinuz和kernel都没有.
复制同样机器同样系统的/boot 正确姿势来整的话,考虑到/boot下面的相关文件被清理了,叫同事找同样物理机和系统的裸金属上去看看/boot/目录,然后叫他把/boot打包成iso,我在带外挂载上去。/mnt/sysimage/etc/redhat-release查看系统信息,然后正常物理机的同样系统上的/boot信息为
1
2
3
4
5
6
7
8
9
10
11
12
13
$ ll total 110920 -rw-r--r--. 1 root root 151918 Nov 9 2018 config-3.10.0-957.el7.x86_64 drwxr-xr-x. 3 root root 17 Feb 26 2019 efi drwxr-xr-x. 2 root root 27 Feb 26 2019 grub drwx------. 5 root root 97 Feb 26 2019 grub2 -rw-------. 1 root root 59891363 Feb 26 2019 initramfs-0-rescue-cd270b115cc741328f7812c0be97041d.img -rw-------. 1 root root 22834950 Feb 26 2019 initramfs-3.10.0-957.el7.x86_64.img -rw-------. 1 root root 13548147 Oct 11 16:32 initramfs-3.10.0-957.el7.x86_64kdump.img -rw-r--r--. 1 root root 314036 Nov 9 2018 symvers-3.10.0-957.el7.x86_64.gz -rw-------. 1 root root 3543471 Nov 9 2018 System.map-3.10.0-957.el7.x86_64 -rwxr-xr-x. 1 root root 6639904 Feb 26 2019 vmlinuz-0-rescue-cd270b115cc741328f7812c0be97041d -rwxr-xr-x. 1 root root 6639904 Nov 9 2018 vmlinuz-3.10.0-957.el7.x86_64
现在步骤开始是实际有效的步骤,前提是挂载了centos的iso和boot文件的iso/dev/sr1
1
2
3
4
5
6
7
8
sh-4.2# chroot /mnt/sysimage bash-4.2# alias ll='ls -l' bash-4.2# mkdir -p /media/tmp bash-4.2# mount /dev/sr1 /media/tmp/ mount: /dev/sr1 is write-protected, mounting read-only bash-4.2# cd /media bash-4.2# tar zxf /media/tmp/boot.tar.gz bash-4.2# cp -a boot/* /boot/
这里有一个点不确定,但是为了保险起见我是操作了,有条件的人可以自己去测下看看下面步骤不执行有影响不,删除uuid文件(我对比了下实际上MD5是一样的,有条件可以测下下面这几个步骤不执行看看正常不)
1
2
3
4
5
6
bash-4.2# cd /boot bash-4.2# ll /media/boot/*cd270b11* -rw-------. 1 root root 59891363 Feb 26 2019 /media/boot/initramfs-0-rescue-cd270b115cc741328f7812c0be97041d.img -rwxr-xr-x. 1 root root 6639904 Feb 26 2019 /media/boot/vmlinuz-0-rescue-cd270b115cc741328f7812c0be97041d bash-4.2# rm -f *cd270b11* bash-4.2# /etc/kernel/postinst.d/51-dracut-rescue-postinst.sh $(uname -r) /boot/vmlinuz-$(uname -r)
grub配置文件里有硬盘分区的uuid,这里需要重新生成grub.cfg
1
2
bash-4.2# mv /boot/grub2/grub.cfg{,.bak} bash-4.2# grub2-mkconfig -o /boot/grub2/grub.cfg
如果报错grub-probe: error: cannot find a device for / (is /dev mounted?)
1
2
3
4
mount -o bind /dev /mnt/sysimage/dev mount -o bind /proc /mnt/sysimage/proc mount -o bind /run /mnt/sysimage/run mount -o bind /sys /mnt/sysimage/sys
重启 重启测试
1
2
bash-4.2# exit sh-4.2# init 6
结果是进入了emergency modesystemctl failed发现/home无法被挂载
1
2
3
4
5
6
7
8
9
10
11
12
13
14
15
16
17
18
19
20
21
[root@cn19 ~]# systemctl --failed UNIT LOAD ACTIVE SUB DESCRIPTION ● home.mount loaded failed failed /home ● auditd.service loaded failed failed Security Auditing Service LOAD = Reflects whether the unit definition was properly loaded. ACTIVE = The high-level unit activation state, i.e. generalization of SUB. SUB = The low-level unit activation state, values depend on unit type. 2 loaded units listed. Pass --all to see loaded but inactive units, too. To show all installed unit files use 'systemctl list-unit-files'. [root@cn19 ~]# grep -Pv '^#|^$' /etc/fstab /dev/mapper/centos-root / xfs defaults 0 0 UUID=71b43bbc-819c-4420-9ba8-9c85110999dd /boot xfs defaults 0 0 /dev/mapper/centos-swap swap swap defaults 0 0 [root@cn19 ~]# lvs LV VG Attr LSize Pool Origin Data% Meta% Move Log Cpy%Sync Convert home centos -wi-a----- 2.00g root centos -wi-ao---- 550.00g swap centos -wi-ao---- 4.00g
尝试修复无果
1
2
3
4
5
6
7
8
[root@cn19 ~]# xfs_repair /dev/mapper/centos-home Phase 1 - find and verify superblock... bad primary superblock - bad magic number !!! attempting to find secondary superblock... ......................Sorry, could not find valid secondary superblock Exiting now.
询问了用户/home目录不重要,直接取消fstab取消/home的挂载然后reboot恢复正常
参考: https://www.tecmint.com/recover-or-rescue-corrupted-grub-boot-loader-in-centos-7/ https://www.thegeekdiary.com/centos-rhel-7-how-to-install-kernel-from-rescue-mode/ https://www.thegeekdiary.com/how-to-re-generate-initramfs-and-vmlinuz-for-rescue-kernel-with-current-kernel-in-centos-rhel-7/